Insight
How to Make a Custom URL Shortener
Most of the links that we come across these days – especially when it comes to blog posts – are typically provided in the format of a shortened URL. They’re what allow you to turn something long like https://hover.blog/blog-post-example into http://bit.ly/1t74QX6. And the best news of all? It’s really easy to do.
There are many reasons why you’d want to create a shortened URL, including:
Saving Space
This is particularly great for Twitter, when you don’t have a ton of room to work with. By using a shorter URL, you’re able to free up more space to describe what it is that you’re linking to.
More Visually Appealing
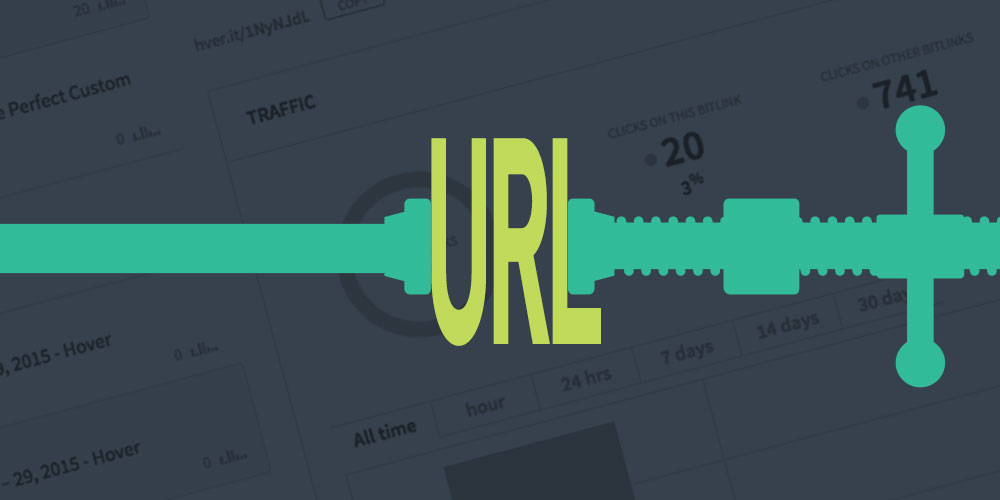
If you’re including a URL in a block of text, it can look awkward having a paragraph broken up by a long URL. A short url will be more inline with what you’re writing, since it is only takes up the space of a couple of words.
Trackable
Depending on what service you’re using for your URL shortening, it is very easy to track how many people have clicked on any of the URLs that you’ve shortened. This is a quick way to gauge how successful a link that you’ve shared has been.
Branding
If you’re using a custom URL shortener, this is a great opportunity to brand your links to your name, business or whatever you post links on behalf of. This also opens the door to exposing your brand name to larger audiences when people copy-and-paste your URLs, even if they choose not to @mention you!
How To Set Up Your Custom URL Shortener
If you’re ready to start using your very own URL shortener, here’s what you’ll need to do to get shortening in no time:
Step 1: Purchase a New Domain
In order to make a custom URL shortener, you first need to own the domain that you are using to shorten with. If you have a domain already, there’s nothing stopping you from using that; however, the whole point here is to have a URL that has as few letters as possible. This means that you’re going to need to register a variation of your domain name, which people will then come to recognize as a shortened URL instead of your regular domain. Finding a great shortened version of your name is the trickiest part of this whole process, but here are some tips to help you through it:
Remove Letters
Try and think if there are letters you can remove from your name but people will still recognize as you when they see it. For instance, in hover we could remove the o and e to form hvr, which still sounds like “hover” when you sound out the letters in your head. Remember, this isn’t replacing your main URL, so it’s OK if it’s a bit of a stretch.
Use a Domain Hack
The world of domain names is a very different place from what it used to be. There are now hundreds of new top level domains (TLDs) to end your website with, so chances are there might be one that is already in your domain name. If your domain is yourname.com, for example, you could shorten it to yourna.me.
Use A Different TLD
If a domain hack isn’t possible, you can still use another TLD to shave off some extra letters from your URL. For instance, maybe instead of .COM you’ll use .CO for your links? Or, you could use something entirely different like .LINK to indicate that the URL is a link to some form of content that you’re sharing.
Step 2: Point Your New Domain at Bitly
Chances are if you’ve seen a shortened URL then you’ve seen a Bitly link. It’s incredibly simple to use: all you need to do is paste in your long URL and Bitly instantly provides a shortened URL for you to use. You don’t even need to sign in; however, if you do, you’ll be able to see insight into how many people have clicked on each of your links. You’ll need to create an account if you’re using a custom URL but don’t worry – it’s free!
To use Bitly with your new domain, they’ve provided a handy guide that walks you through the whole process. It’s a little hands-on, but both Hover & Bitly provide very simple interfaces that make the setup a breeze (if we do say so ourselves).
If you’d prefer to do Step 2 completely on your own without Bitly or a similar service, you can alternatively use YOURLS.
Step 3: Shorten Your URLs
That’s it! Now all you’ll have to do is paste any URL you’d like into Bitly, which will then spit out a custom branded short URL with your new domain. Easy, huh?
Ready to get your own short URL? Search for one at Hover here: